


Tile Installation Checklist
A few simple steps will help your installation go smoothly.
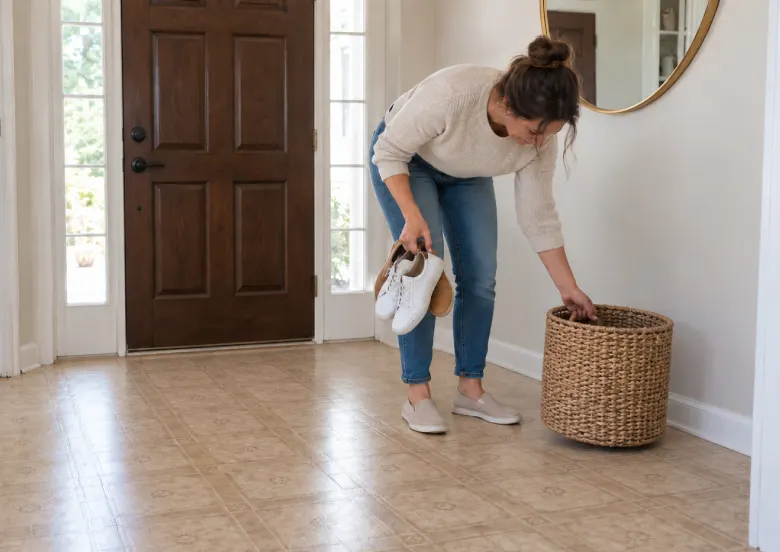
 Remove small furniture, décor and personal items from the installation area
- Clear access to all rooms receiving new tile
- Protect nearby belongings from installation dust
- Discuss arrangements for moving appliances or plumbing fixtures
- Keep children and pets safely away from the work area
- Confirm how long the area must remain unused after installation and plan alternate access
Before Tile Installation
Getting your home ready beforehand helps tile installation go smoothly. Review your goals with our installation team and confirm whether existing flooring needs to be removed and who will handle it. Move furniture from the installation area, protect fragile or valuable belongings and complete any planned painting before work begins. Keep children and pets safely away from the job site, and discuss any questions or special requests with our team.
During Tile Installation
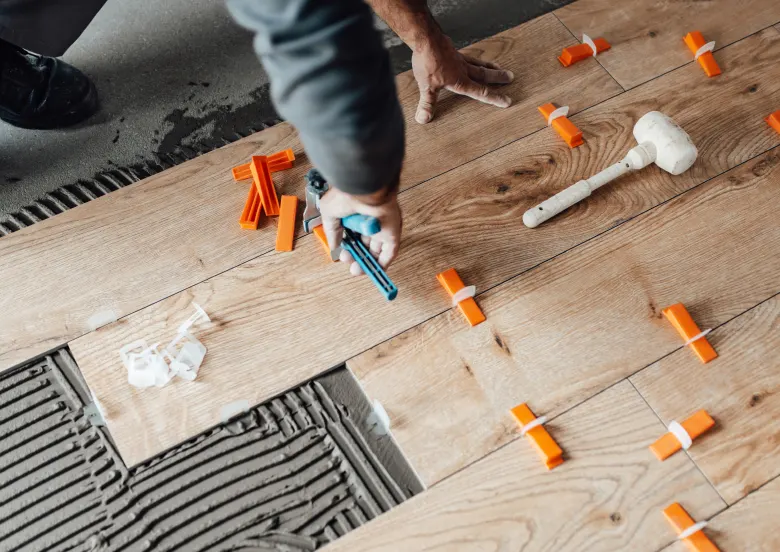
Tile requires a structurally sound, rigid, level, smooth and clean subfloor. Our crew will prepare the surface and determine the tile layout before applying thinset mortar and setting the tiles. Spacers help maintain consistent spacing for the grout joints. Grouting will follow, sometimes the next day, depending on the project. Before finishing, our crew will clean the tile and work area, then complete a walkthrough with you.
After Tile Installation
Allow the installation materials to cure according to our team’s instructions before walking on the tile or returning furniture to the room. A fan can help clear lingering installation odors. Follow our tile care and maintenance guide to care for your new flooring, and contact our team whenever questions arise.