


Luxury Vinyl Installation Checklist
A few simple steps will help your installation go smoothly.
 Remove small furniture, décor and personal items from the installation area
- Clear closets and provide access to all rooms receiving new flooring
- Complete painting and other planned room updates before installation
- Discuss arrangements for moving appliances if kitchens or laundry rooms
- Keep children and pets safely away from the work area
- Confirm flooring removal, surface preparation and any special requests with your project specialist

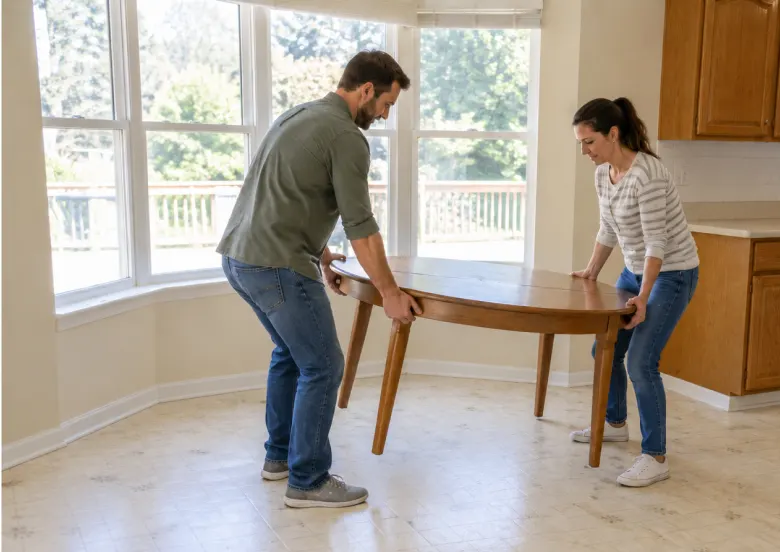
Before Luxury Vinyl Installation
Preparing your space helps your vinyl installation stay on track. Discuss your goals with our installation team and confirm whether the existing flooring needs to be removed and who will handle it. Clear furniture from the rooms receiving new flooring, move fragile or valuable items away from the work area and complete any planned painting. Arrange for children and pets to stay safely away, and address any questions before installation day.
During Luxury Vinyl Installation
Our crew will prepare the subfloor and remove existing flooring when needed. Some vinyl products can be installed over suitable existing floors using a floating installation system. Moisture testing and any required acclimation will be completed before installation. Floating vinyl planks connect through an interlocking system, while glue-down products are secured with adhesive. Once the flooring is installed, we’ll complete a walkthrough with you to review the finished work.
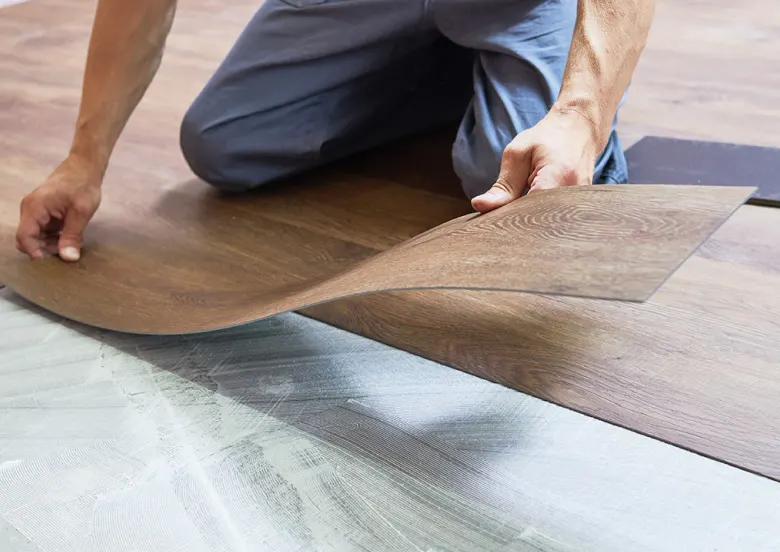
After Luxury Vinyl Installation
Use a fan to help clear lingering installation odors, and follow our team’s instructions about when to walk on the flooring or resume using the room. Refer to our vinyl care and maintenance guide for proper upkeep, and reach out to our team with any questions.